This is one of our favorite RV cameras out there. This camera system is designed to handle excessive vibration, and it comes with a commercial-grade Sharp CCD camera with superb night vision and a heavy duty 7-inch digital monitor.
Great for heavy duty vibrations
How to Install a Wired RV Camera Step By Step:
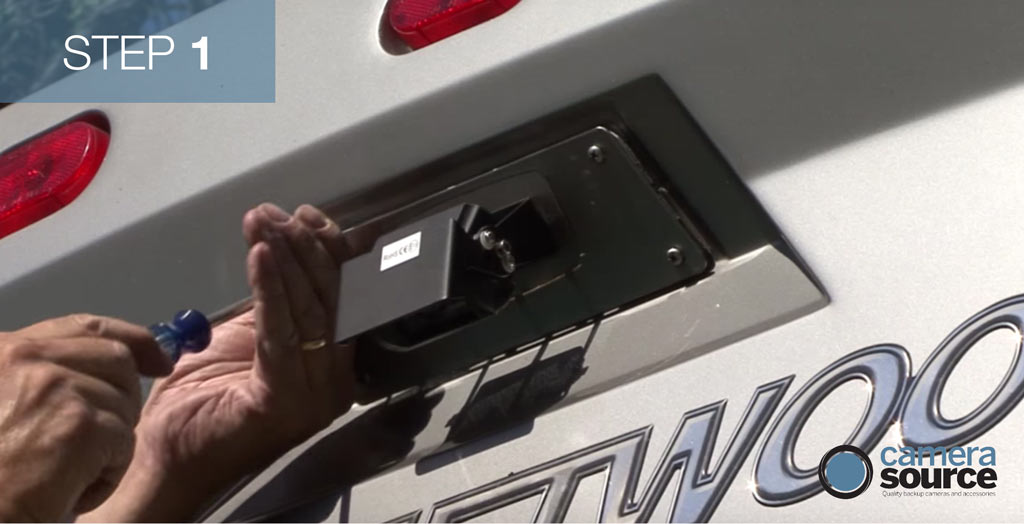
Step 1: Determine where you will mount the camera. In this video, Mark Polk has mounted where the original camera was.
Step 2: Route the cable in the way that makes the most sense.
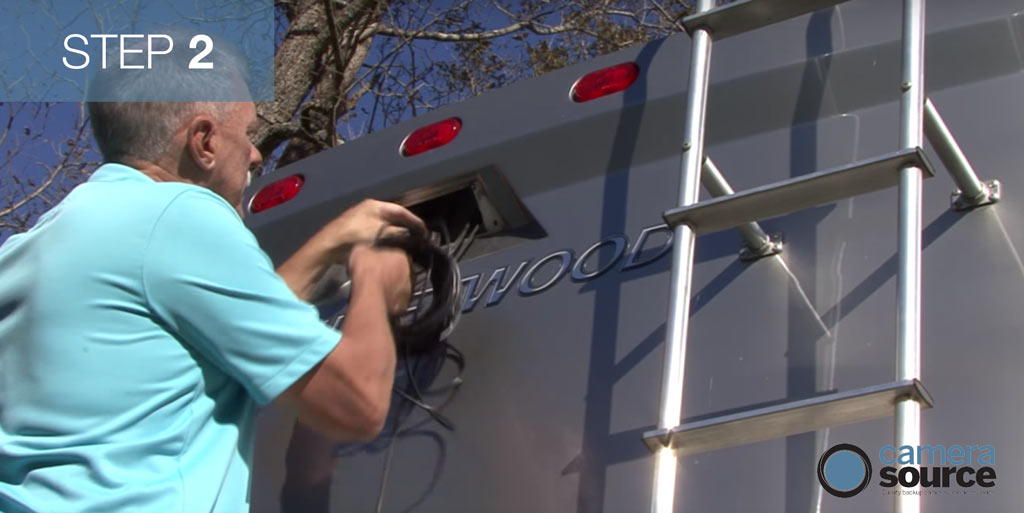
An easy option is to mount down and under the RV
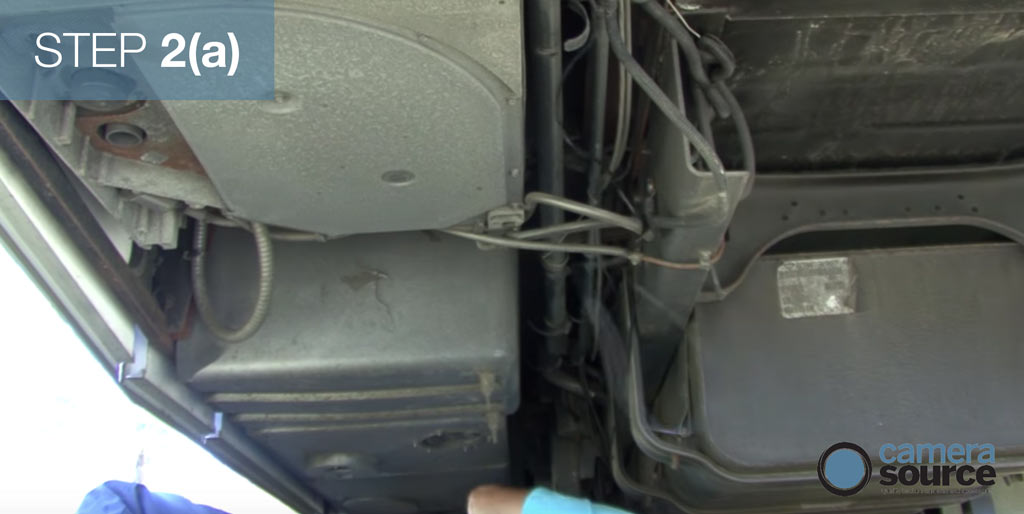
and then back up the cab
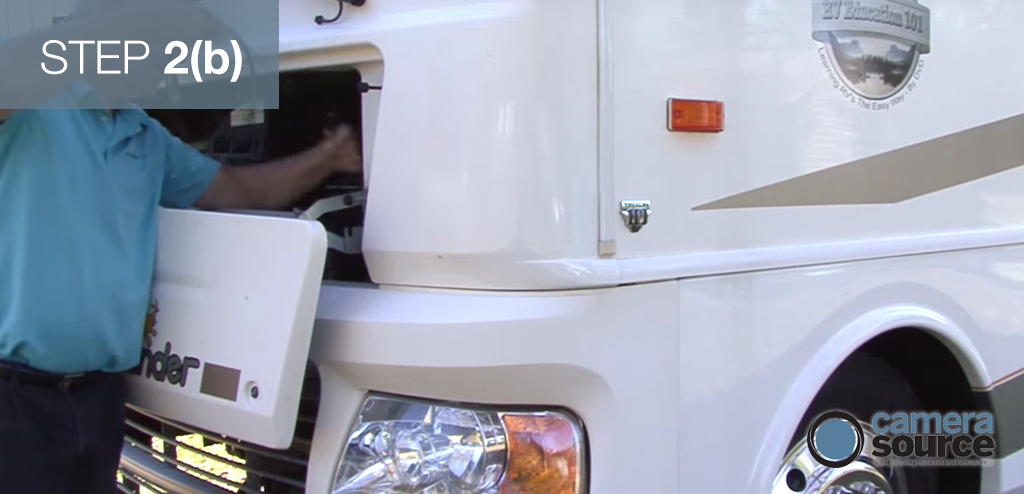
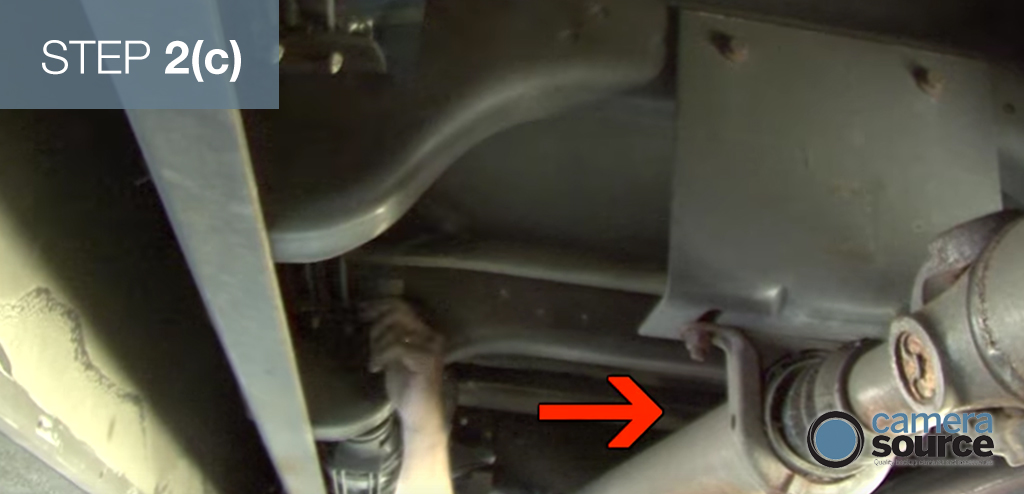
Pro tip: Do not locate the cable next to any moving parts.
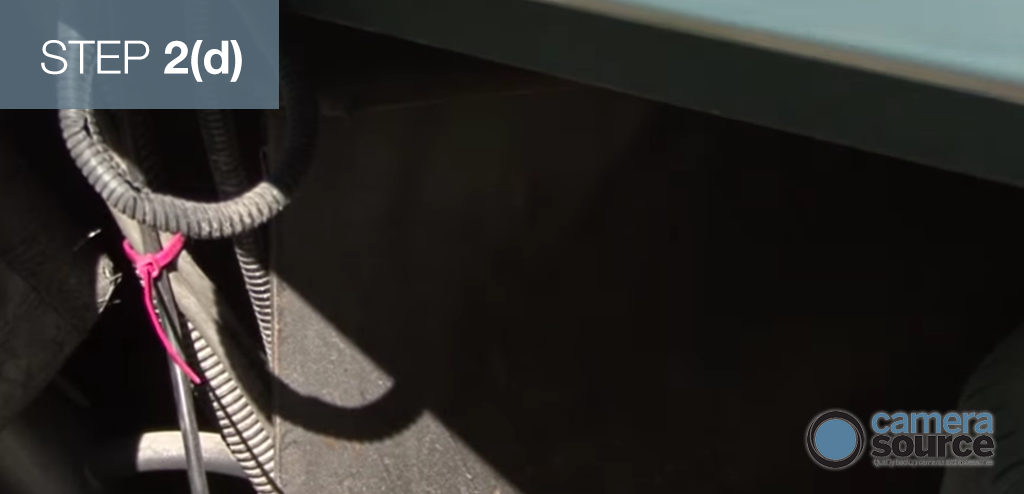
Be sure to securely tie them to prevent excessive movement.
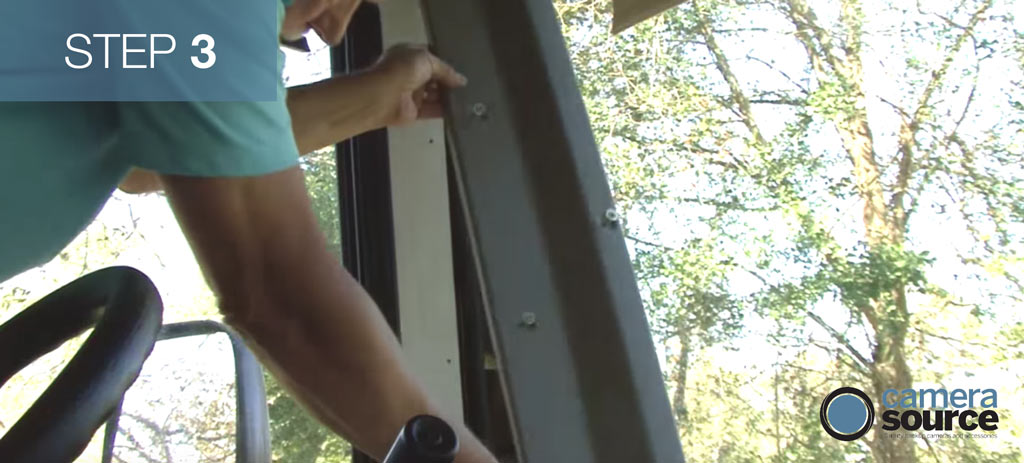
Step 3: Consult your owner's manual, but be sure you’re ready to adjust existing trim to mount the cable to the monitor.
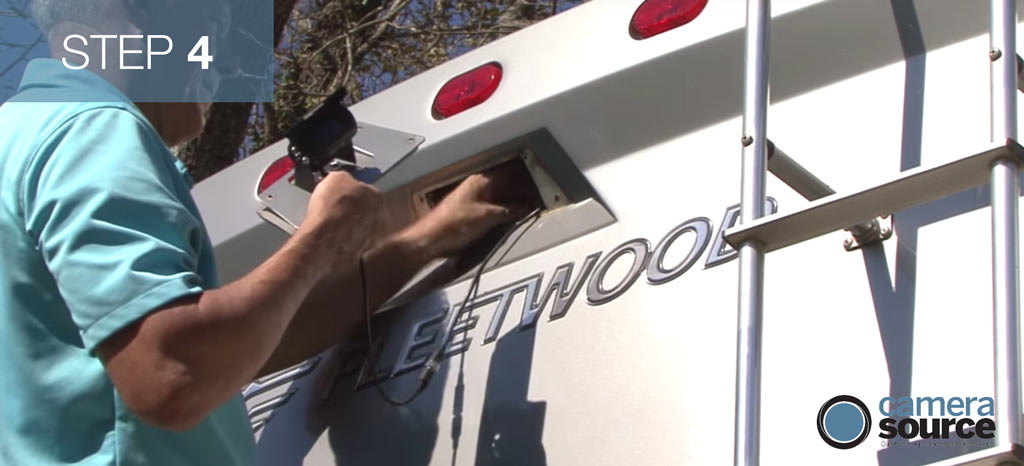
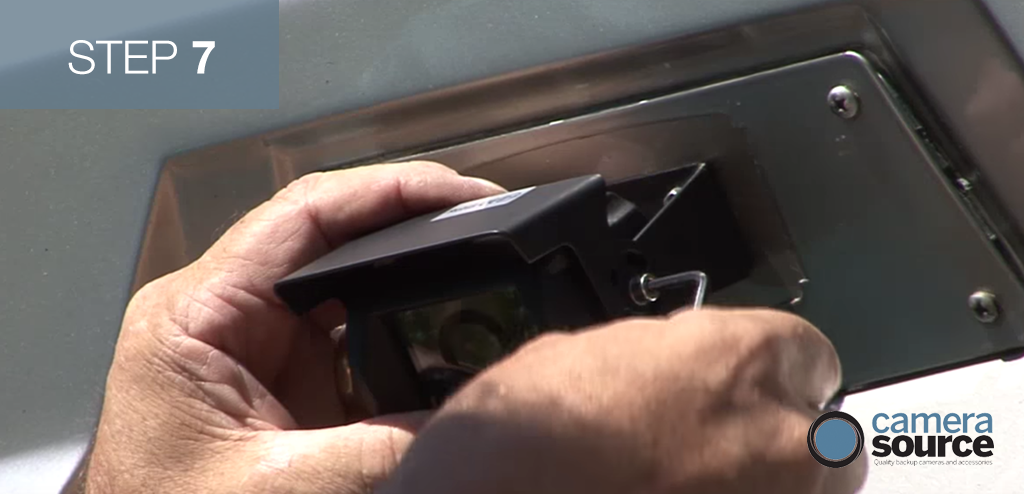
Step 4: Connect the cable to the camera, making sure it’s secure, then adjust and mount. Remember, you can adjust camera angle later as needed.
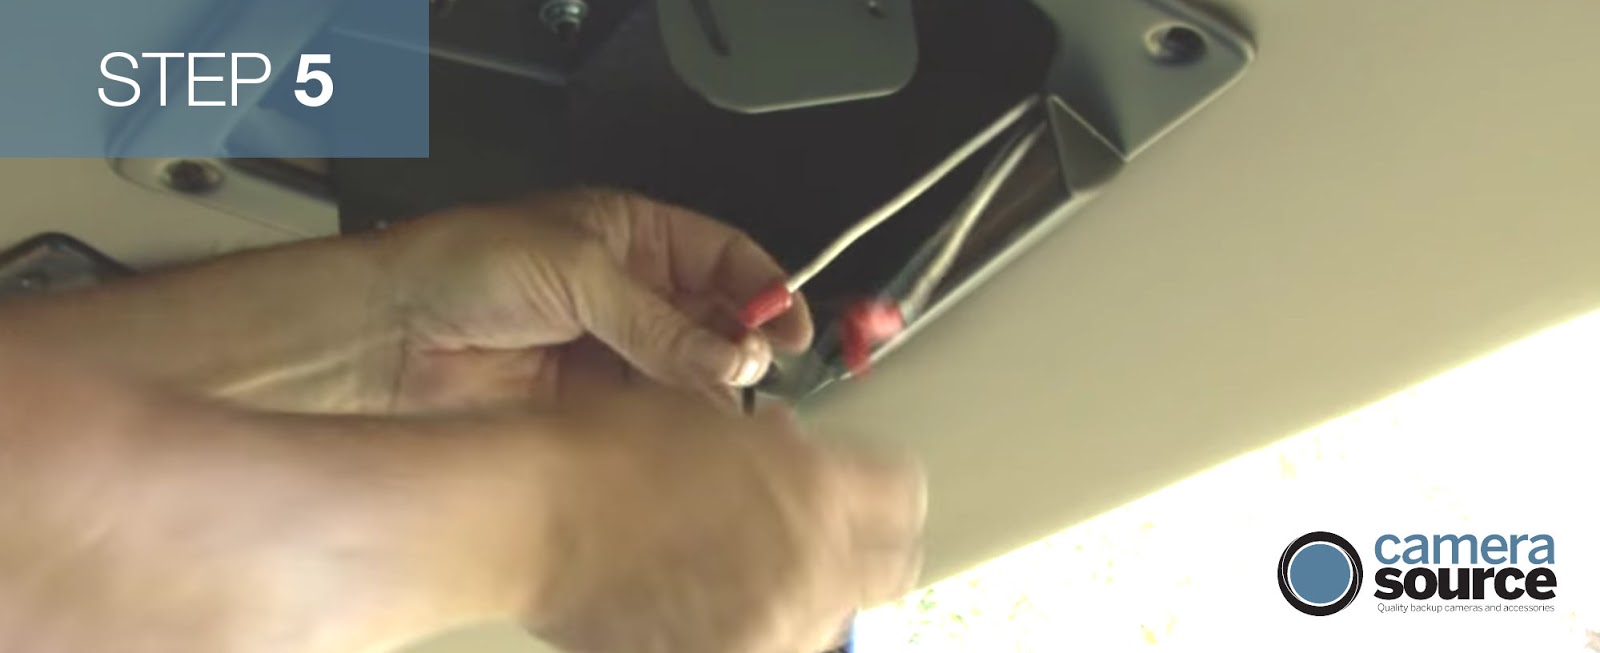
Step 5: Access a 12- or 20-volt power source, a ground, and the reverse wiring if it’s a backup camera. Make sure it’s wired to something that’s only on with ignition or a rear power source if you want it on only when you’re reversing.
Follow the instructions in the owner’s manual for your system, or consult an expert if you’re not sure on the best wiring options.It’s actually that easy to install.
Step 6: Mount the monitor wherever you like with the included brackets or in the old mounting area.
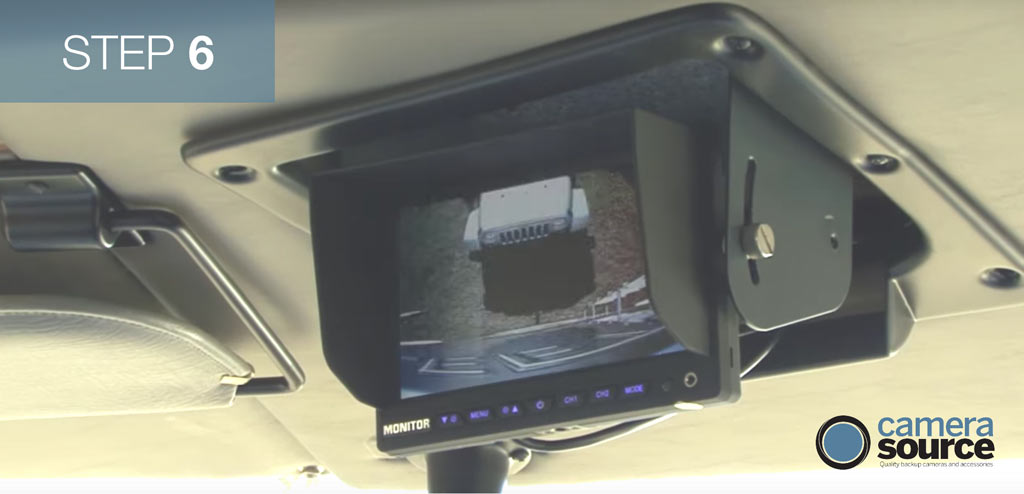
Be sure to make any final adjustments.
It’s actually that easy to install.
For expert advice and tutorials, be sure to consult RV Education 101.


